Welcome to the ultimate guide on Amazon Smart Thermostat, the perfect addition to your smart home. With its energy-efficient features and advanced home climate control capabilities, this smart thermostat offers convenience, cost savings, and environmental benefits. Whether you’re looking to optimize your home’s temperature or reduce your energy consumption, this guide will provide you with all the information you need to make the most of your Amazon Smart Thermostat.

Benefits of the Amazon Smart Thermostat
The Amazon Smart Thermostat brings a range of benefits to your smart home. From the convenience of controlling your home’s climate from anywhere using your smartphone, to the energy efficiency that helps you reduce your environmental footprint and save on utility bills, this smart device delivers it all. With seamless integration with Amazon Alexa and other smart devices, you can effortlessly create custom settings and control your home’s climate with a simple voice command.
Preparing for Installation
Prior to installing the Amazon Smart Thermostat, it’s important to make sure your HVAC system is compatible. Checking for a common wire and shutting off the power are crucial steps for a successful installation. This guide will walk you through the process, ensuring you have all the necessary information and preparations before proceeding further.
Installing the Amazon Smart Thermostat
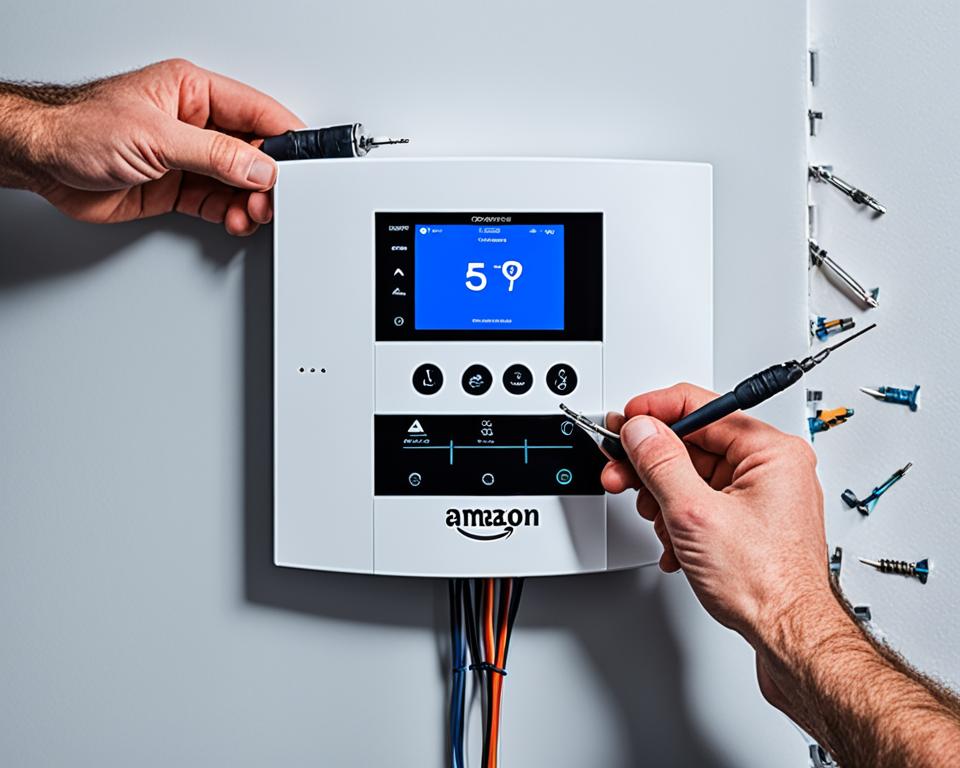
In this section, you’ll find step-by-step instructions for installing the Amazon Smart Thermostat. From attaching the wall cover plate to connecting the wiring, we’ll guide you through every detail to ensure a secure and functional installation. Whether you’re a seasoned DIY enthusiast or new to smart home devices, these instructions will help you install the smart thermostat with ease.
Setting up the Smart Thermostat
Once you’ve successfully installed the Amazon Smart Thermostat, it’s time to set it up for optimal performance. This section will provide a comprehensive guide for downloading and installing the Amazon Alexa app, adding the smart thermostat to your network, connecting it to Wi-Fi, and setting your preferred temperature preferences. Unlock the full potential of your smart thermostat by customizing its settings and exploring additional features through the app.
Controlling and Customizing the Thermostat
Take full control over your home’s temperature with the Amazon Smart Thermostat. This section will teach you how to adjust the temperature using the app, explore its various features, and even program a schedule for temperature adjustments. With the option of controlling the thermostat through voice commands via Amazon Alexa, you can effortlessly manage your home’s climate with a simple voice command.
Troubleshooting and Other Configurations
Lastly, we’ll address any troubleshooting issues that may arise with your Amazon Smart Thermostat. Additionally, if you encounter different HVAC system configurations, we’ll provide guidance on adding a common wire or using a common wire adapter for seamless compatibility. Remember to always consult the manufacturer’s instructions and guidelines for accurate installation and troubleshooting.
Benefits of the Amazon Smart Thermostat
The Amazon Smart Thermostat offers several benefits that enhance the convenience and energy efficiency of your smart home. Let’s explore these advantages:
1. Convenient Climate Control: With the Amazon Smart Thermostat, you can effortlessly control your home’s climate from anywhere. Whether you’re snuggled up on the couch or out running errands, you can easily adjust the temperature to your liking using your smartphone or voice commands.
2. Seamless Integration: The Amazon Smart Thermostat seamlessly integrates with Amazon Alexa, allowing you to control it using voice commands. You can simply say, “Alexa, set the temperature to 72 degrees,” and your smart thermostat will make it happen. It also integrates with other smart devices in your home, creating a cohesive and efficient smart home ecosystem.
3. Energy Efficiency: With energy-saving features such as scheduling and geofencing, the Amazon Smart Thermostat helps you reduce your energy consumption without sacrificing comfort. You can create customized schedules to automatically adjust the temperature based on your daily routine. Additionally, geofencing ensures that your thermostat adjusts when you leave or return home, optimizing energy usage.
4. Cost Savings: By optimizing your home’s energy usage, the Amazon Smart Thermostat can lead to significant cost savings on your energy bills. With its energy-efficient features and intelligent controls, you can enjoy a comfortable home environment while minimizing your energy expenses.
These benefits make the Amazon Smart Thermostat a valuable addition to any smart home, offering convenience, energy efficiency, and cost savings. By leveraging its advanced features, you can effortlessly control your home’s climate, integrate seamlessly with other smart devices, and optimize your energy usage for a more sustainable and comfortable living environment.
Preparing for Installation
Before installing the Amazon Smart Thermostat, it’s crucial to ensure that your HVAC system is compatible and properly prepared. Here are the steps to follow:
1. Check for a Common Wire
The first step is to check if your HVAC system has a common wire. The common wire, also known as the C wire, provides the necessary power for the smart thermostat to function correctly. Without it, the thermostat may not be able to power on or operate efficiently.
- Locate your HVAC system’s control board, which is typically found near the furnace or air handler.
- Identify the wiring terminals on the control board.
- If there is a wire connected to the “C” terminal, you have a common wire.
- If there is no wire connected to the “C” terminal, you may need to consult an HVAC professional to help you install a common wire.
2. Shut Off the Power
Before starting any installation work, it’s essential to turn off the power supply to your HVAC system. This ensures your safety and prevents any potential damage to the equipment. Follow these steps to shut off the power:
- Locate the main power switch or circuit breaker for your HVAC system.
- Flip the switch to the “Off” position or turn off the corresponding circuit breaker.
- Use a voltage tester to double-check that there is no power running to the system.
3. Remove the Existing Thermostat
Once the power is turned off, you can begin removing the existing thermostat. Here’s how:
- Gently remove the thermostat’s cover by unsnapping or unscrewing it.
- Take a picture of the existing wiring for future reference.
- Disconnect the wires from the terminals by loosening the screws and carefully pulling them out.
- Remove the thermostat from the wall by unscrewing it from the mounting plate.
With these preparatory steps completed, you’re now ready to move on to the installation of your new Amazon Smart Thermostat. Stay tuned for the next section, where we’ll guide you through the installation process and ensure your smart thermostat is up and running in no time.

Installing the Amazon Smart Thermostat
Once you have completed the necessary preparations for installation, it’s time to install the Amazon Smart Thermostat. This section will guide you through the step-by-step process to ensure a secure and functional installation.
1. Attaching the Wall Cover Plate
Start by attaching the wall cover plate that came with your Amazon Smart Thermostat. Place the plate over the existing mounting holes on the wall and use the provided screws to secure it in place. Make sure the plate is level and flush with the wall for a clean and professional look.
2. Connecting the Wires to the Terminal Block
Next, it’s time to connect the wires from your HVAC system to the terminal block on the wall cover plate. Refer to the picture you took earlier of the existing wiring for reference.
Identify the corresponding terminals on the terminal block and loosen the screws on each terminal. Carefully insert the exposed end of each wire into its respective terminal and tighten the screw to secure the connection. Ensure that the wires are securely attached and there is no exposed wiring.
3. Mounting the Smart Thermostat
Now that the wires are connected, it’s time to mount the Amazon Smart Thermostat onto the terminal block. Align the thermostat with the wall cover plate and gently slide it down until it engages with the terminal block. Make sure it fits securely and is flush with the wall.
Once the thermostat is mounted, you can test it by turning on the power to your HVAC system. Follow the manufacturer’s instructions for powering on the system and use the thermostat to adjust the temperature. Ensure that the thermostat displays the correct information and responds accurately to your commands.
Remember to consult the installation manual provided by Amazon for any specific instructions or troubleshooting tips. Following these installation steps will help you successfully install the Amazon Smart Thermostat and take control of your home’s climate with ease.
Setting up the Smart Thermostat
Now that you have successfully installed your Amazon Smart Thermostat, it’s time to set it up and start enjoying its full range of features. The setup process is straightforward and can be done using the user-friendly Amazon Alexa app.
Step 1: Download and Install the App
To begin, you’ll need to download the Amazon Alexa app on your smartphone or tablet. Head to your device’s app store (App Store or Google Play Store) and search for “Amazon Alexa.” Once you find the app, tap on “Download” to install it.
Step 2: Add the Thermostat to the App
After installing the app, open it and sign in with your Amazon account. Once you’re logged in, tap on the menu icon (usually three horizontal lines) in the top left corner of the screen. From the menu, select “Add Device.” In the list of available devices, choose “Thermostat.”
Follow the on-screen instructions to put your Amazon Smart Thermostat in pairing mode. This usually involves pressing and holding a button on the thermostat until it starts flashing or displaying a pairing code.
Once your smart thermostat is in pairing mode, the app will search for it. When it appears on the screen, tap on it to select it. The app will then guide you through the process of connecting the thermostat to your home Wi-Fi network.
Step 3: Connect to Wi-Fi
In order to control your smart thermostat remotely and enjoy all its features, it needs to be connected to your home Wi-Fi network. The Alexa app will prompt you to enter your Wi-Fi network’s username and password. Make sure you enter the correct information to establish a secure connection.
Once the thermostat is connected to your Wi-Fi network, it will communicate with the app, allowing you to control it from anywhere within range of your Wi-Fi signal.
Step 4: Set Temperature Preferences
With your Amazon Smart Thermostat successfully connected to the app and Wi-Fi network, it’s time to set your preferred temperature settings. Open the Alexa app and navigate to the thermostat’s control page.
From there, you can adjust the temperature with a simple tap or slide of your finger. You can also create schedules for different times of the day or week to automatically adjust the temperature based on your preferences.
Exploring Additional Features
The Amazon Alexa app offers a variety of additional features and customization options to enhance your smart thermostat experience. You can explore features like voice control with Amazon Alexa, energy usage monitoring, and integration with other smart devices in your home.
By utilizing these features and customizing your smart thermostat settings, you can optimize energy efficiency, save on utility bills, and enjoy the convenience of a perfectly controlled home climate.

Controlling and Customizing the Thermostat
In order to fully utilize the functionalities of the Amazon Smart Thermostat, it is crucial to understand how to control and customize it according to your preferences. Whether you want to adjust the temperature, explore different features, or even control the thermostat with voice commands, this section will guide you through the process.
Adjusting Temperature with the App
With the Amazon Smart Thermostat, temperature control has never been easier. Simply open the app on your smartphone and navigate to the thermostat’s interface. From there, you can seamlessly adjust the temperature up or down to create the perfect indoor climate.
Not only can you set the desired temperature, but the app also allows you to customize temperature-based schedules. Whether you prefer specific temperatures during different times of the day or energy-saving settings for when you’re away, the app offers flexibility to suit your lifestyle.
By taking advantage of the app’s temperature control features, you can efficiently manage your home climate and enjoy optimal comfort and energy savings.
Exploring Features and Functionalities
The Amazon Smart Thermostat offers a range of useful features beyond temperature control. Take some time to explore the app and discover the functionalities that can enhance your smart home experience.
For example, you can utilize the app’s geofencing feature to automatically adjust the temperature based on your location. This ensures that your home is already at the ideal temperature when you arrive and helps conserve energy when you’re away.
Additionally, the app provides insights into your energy usage, enabling you to make informed decisions about energy-saving adjustments. It may also offer suggestions for optimizing your home’s climate control for maximum efficiency and comfort.
Voice Commands with Amazon Alexa
If you have an Amazon Alexa device, you can take control of your thermostat using voice commands. Simply sync your Amazon Smart Thermostat with your Alexa device and enjoy the convenience of hands-free temperature adjustments.
By saying commands such as “Alexa, set the thermostat to 72 degrees” or “Alexa, increase the temperature by 3 degrees,” you can effortlessly control the climate in your home without even needing to reach for your smartphone. This feature adds an extra layer of convenience and ease to your smart home setup.
Take advantage of the Amazon Smart Thermostat’s compatibility with Alexa and enjoy the freedom of voice-controlled temperature adjustments.
Summary
In this section, we explored the various ways to control and customize the Amazon Smart Thermostat. From temperature adjustments with the app to exploring additional features and functionalities, as well as controlling the thermostat using voice commands with Amazon Alexa, the possibilities for tailoring your home’s climate control are vast. Experiment with different settings and find the perfect balance of comfort and energy efficiency.
Troubleshooting and Other Configurations
Even with its advanced features, occasionally you may encounter some issues while using your Amazon Smart Thermostat. Don’t worry, we’ve got you covered with some troubleshooting tips to help you quickly resolve common problems. First, make sure that your HVAC system is compatible with the smart thermostat and that all the wiring is correctly installed according to the manufacturer’s instructions. If you’re experiencing connectivity issues, try restarting your Wi-Fi router and ensure that your thermostat is within range.
If you’re still facing difficulties, it may be necessary to make some configurations specific to your HVAC system. Some older systems may not have a common wire required for the smart thermostat to function properly. In this case, you have the option to add a common wire to your system or use a common wire adapter specifically designed for compatibility. Both solutions ensure that your Amazon Smart Thermostat gets the necessary power to operate effectively.
Remember, while troubleshooting, it’s crucial to refer to the manufacturer’s guidelines and support documentation for accurate installation and configuration. If you have any further questions or concerns, don’t hesitate to reach out to the customer support team for assistance. They are available to help you get the most out of your Amazon Smart Thermostat and ensure your home’s comfort and energy efficiency all year round.

